
[ad_1]
Hello pretty folks! 👋 I’m engaged on a greenhouse monitoring undertaking and I needed to join my Arduino to the web over WiFi. I wished to push some sensor knowledge to my server. I might have purchased a WiFi protect for the Arduino however why spend more cash when you have already got a Pi with WiFi card?
I ended up connecting Arduino with my Pi and pushing sensor knowledge to my server by way of the Pi. The method was tremendous easy.
Step 1: Begin serial communication on Arduino
In your Arduino code it’s good to begin serial communication throughout setup and ship some knowledge to the Raspberry Pi. I’m utilizing the loop operate to ship the info each half-second:
void setup(){
    Serial.start(9600);
}

void loop(){
    Serial.println("Welcome to Arduino :)");
    delay(500);
}
Add every other code you may want in your undertaking and add the code on Arduino.
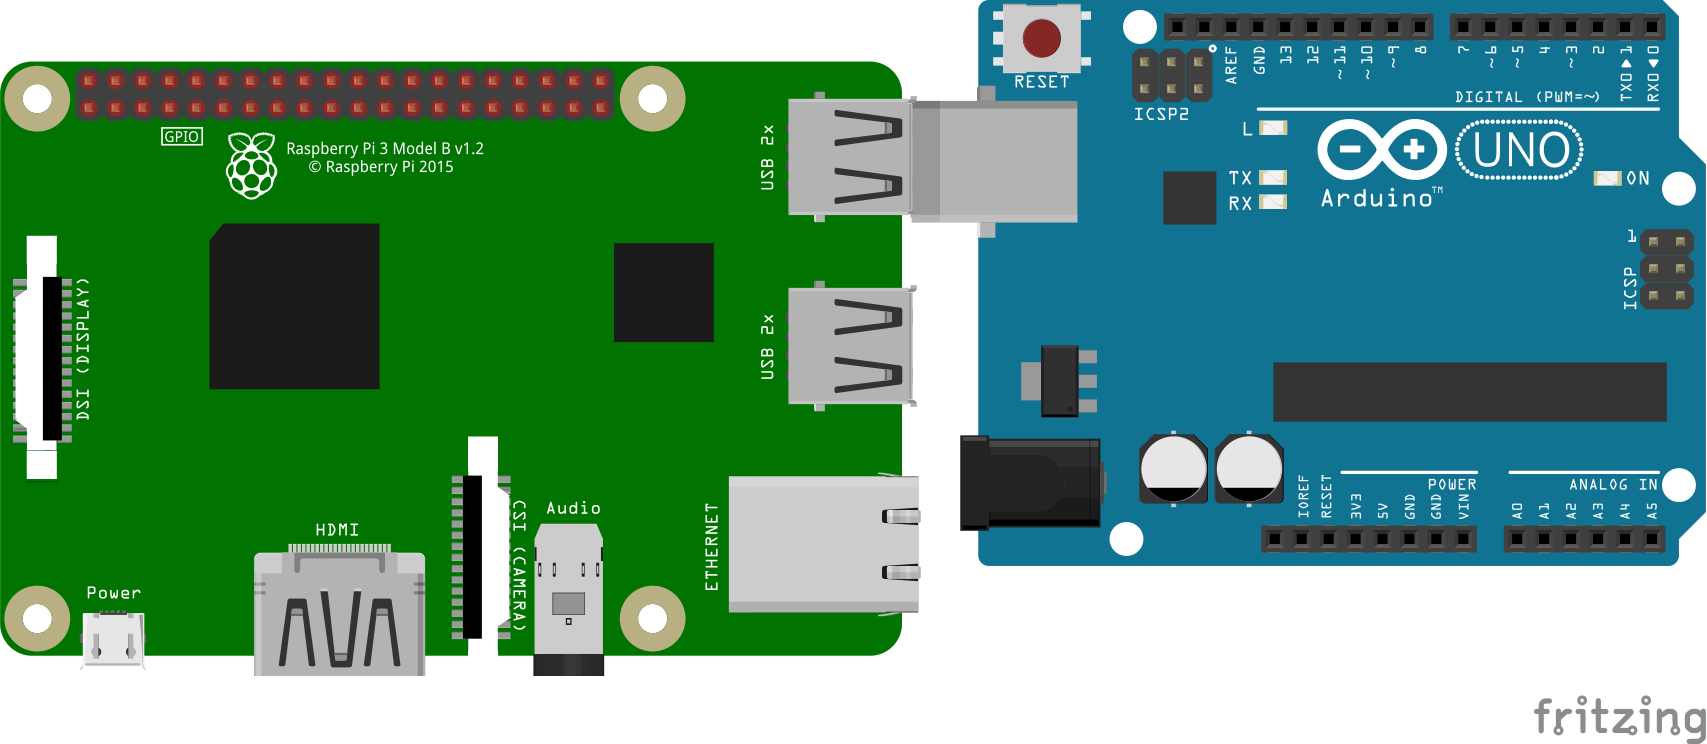
Step 2: Connecting Arduino & Raspberry Pi
Join the Arduino utilizing the USB cable to the Raspberry Pi after the code has been uploaded to Arduino.
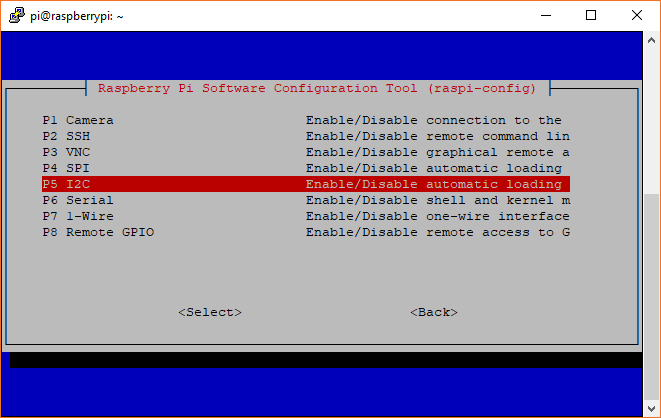
Step 3: Allow I2C on the Raspberry Pi
We have to allow I2C communication on the Raspberry Pi. I2C is a standard customary which permits one system to speak to a different. You’ll be able to allow this from the terminal by working:
$ sudo raspi-config
Now choose 5 Interfacing Choices from the record. Now choose I2C from the record and choose allow.
Step 4: Write code on Pi to learn incoming knowledge
Create a file code.py in your desktop on the Raspberry Pi. Add the next code within the file:
import serial
import RPi.GPIO as GPIO
import time

ser=serial.Serial("/dev/ttyACM0",9600)

whereas True:
    read_ser=ser.readline()
    print(read_ser)
The code above goes to open up a serial connection between the Arduino and Raspberry Pi. It is going to run a steady loop the place it’ll learn incoming knowledge from the Arduino and can print it on the terminal.
You may be questioning the place I received /dev/ttyACM0 from. That is an identifier for the USB interface. It may be barely totally different for you. With a purpose to discover out what this identifier is for you kind this command within the terminal:
$ ls /dev/tty*
This can print an entire bunch of stuff on the display:
/dev/tty    /dev/tty23  /dev/tty39  /dev/tty54
/dev/tty0   /dev/tty24  /dev/tty4   /dev/tty55
/dev/tty1   /dev/tty25  /dev/tty40  /dev/tty56
/dev/tty10  /dev/tty26  /dev/tty41  /dev/tty57
/dev/tty11  /dev/tty27  /dev/tty42  /dev/tty58
/dev/tty12  /dev/tty28  /dev/tty43  /dev/tty59
/dev/tty13  /dev/tty29  /dev/tty44  /dev/tty6
/dev/tty14  /dev/tty3   /dev/tty45  /dev/tty60
/dev/tty15  /dev/tty30  /dev/tty46  /dev/tty61
/dev/tty16  /dev/tty31  /dev/tty47  /dev/tty62
/dev/tty17  /dev/tty32  /dev/tty48  /dev/tty63
/dev/tty18  /dev/tty33  /dev/tty49  /dev/tty7
/dev/tty19  /dev/tty34  /dev/tty5   /dev/tty8
/dev/tty2   /dev/tty35  /dev/tty50  /dev/tty9
/dev/tty20  /dev/tty36  /dev/tty51  /dev/ttyACM0
/dev/tty21  /dev/tty37  /dev/tty52
/dev/tty22  /dev/tty38  /dev/tty53
Discover the string containing ACM and typically that’s going to be the interface for the Arduino.
Generally it’ll most likely be ACM0 so that you don’t must edit the code however whether it is totally different return and edit the code.py file.
Step 5: Run code.py
Good! Now we have every little thing we’d like. Its time to run code.py on the Raspberry Pi and knowledge ought to begin displaying up on the display.
Troubleshooting:
In case issues nothing reveals up on the display reconnect the Arduino to your laptop computer, open up the serial monitor and guarantee that knowledge present up there at the very least. If it doesn’t, there’s something fallacious together with your Arduino code.
If knowledge reveals up within the serial monitor then restart your Raspberry Pi. Usually the age-old answer of turning it on and off once more works wonders.
If it nonetheless doesn’t work, search on Google and if even Google isn’t capable of assist, ship me an e-mail and I’ll attempt my finest that will help you out.
[ad_2]